Crispy Baked Chicken Cutlets in oven: A Healthy Twist on a Classic
Table of Contents
Crispy Baked Chicken Cutlets in oven: A Healthy Twist on a Classic
Who doesn’t love the satisfying crunch of a crispy chicken cutlets in oven? It’s a meal that takes you back to warm family dinners, the smell of a busy kitchen, and the comfort of a home-cooked favorite. But while fried cutlets might be a staple of indulgence, baking them in the oven offers a healthier and equally delicious alternative. If you’re looking to enjoy the same golden crispiness without the guilt, you’ve come to the right place. This guide will show you how to make crispy baked chicken cutlets in oven that will win over your taste buds and keep your health goals on track.
Why Baked Chicken Cutlets in oven Are a Game Changer
Switching from frying to baking doesn’t mean sacrificing flavor or texture. In fact, baking chicken cutlets in oven offers several advantages:
- Healthier Alternative: By baking instead of frying, you significantly reduce the fat and calorie content. This makes it a perfect option for those watching their diet or striving for a healthier lifestyle.
- Ease and Convenience: No more standing over a frying pan or dealing with splattering oil. Simply pop your breaded chicken into the oven and let it cook to perfection.
- Cleaner Kitchen: Baking means less mess to clean up, making the process more enjoyable and hassle-free.
- Crisp Without Compromise: With the right technique and ingredients, you’ll achieve that golden, crispy crust that everyone craves.
Essential Ingredients for Crispy Oven-Baked Chicken Cutlets
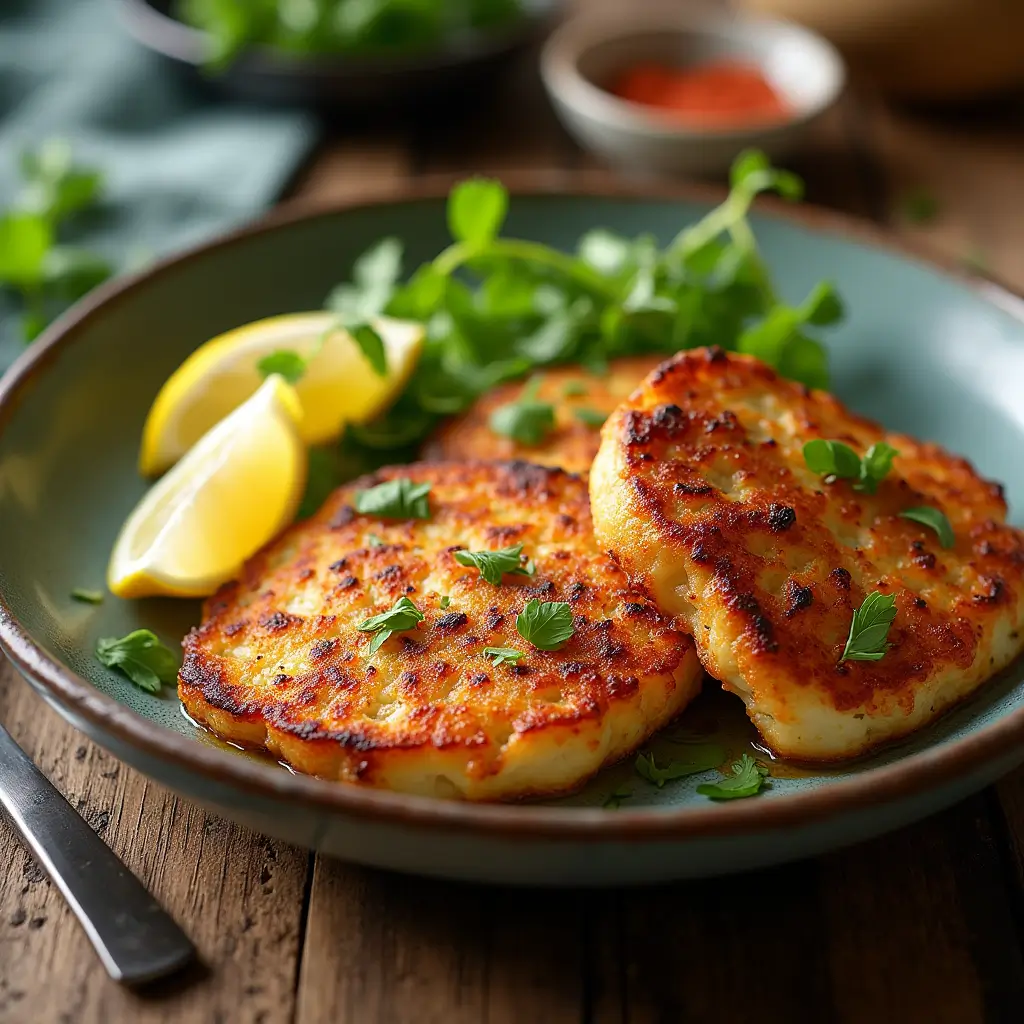
Achieving the perfect baked chicken cutlets in oven starts with the right ingredients. Here’s what you’ll need:
| Ingredient | Quantity | Notes |
|---|---|---|
| Chicken breasts | 4 | Thinly sliced or pounded to even thickness |
| Panko breadcrumbs | 1 cup | Provides a light and crispy texture |
| Parmesan cheese | ½ cup | Optional, but adds a rich flavor |
| Eggs | 2 | Acts as a binder |
| Olive oil spray | As needed | Ensures even browning |
| Seasonings | To taste | Garlic powder, paprika, salt, and pepper |

Pro Tips on Ingredients
- Opt for panko breadcrumbs instead of regular ones for a lighter, crunchier texture.
- Adding Parmesan cheese to the breadcrumbs not only enhances flavor but also contributes to a beautifully golden crust.
- Using a spray bottle of olive oil ensures even coverage without overloading on fats.
Step-by-Step Guide to Making Crispy Chicken Cutlets in oven
Follow these steps to create perfectly baked chicken cutlets in oven that rival their fried counterparts:
1. Prep Your Chicken
- Flatten each chicken breast to an even thickness with a meat mallet to ensure uniform cooking and maintain tenderness.
- Season the chicken on both sides with salt, pepper, and any other spices you enjoy.
2. Set Up the Breading Station
Prepare three bowls for breading:
- Flour Bowl: Lightly coat each chicken piece in flour to help the egg adhere.
- Egg Mixture: Beat the eggs in a bowl until smooth.
- Breadcrumb Mix: Combine panko breadcrumbs, Parmesan cheese, and your chosen seasonings.
3. Bread the Chicken
- Dip each chicken piece into the flour, then into the egg mixture, and finally coat it in the breadcrumb mix.
- Firmly press the breadcrumbs onto the chicken to achieve a consistent coating.
4. Prepare Your Baking Sheet
- Line a baking sheet with parchment paper or place a wire rack over the sheet to allow air circulation.
- Spray the parchment or rack lightly with olive oil to prevent sticking.
5. Bake to Perfection
- Preheat your oven to 400°F (200°C).
- Arrange the breaded chicken cutlets in oven a single layer on the baking sheet.
- Lightly spray the tops of the cutlets with olive oil to promote browning.
- Bake for 20-25 minutes, flipping halfway through to ensure even crisping.
- Use a meat thermometer to check that the internal temperature reaches 165°F (74°C).
Tips for Achieving the Crispiest Results
Getting the perfect crisp is all about technique. Here are some tips to keep in mind:
- Use a Wire Rack: Elevating the chicken ensures air circulates underneath, preventing sogginess.
- Don’t Overcrowd the Pan: Give each cutlet enough space to crisp up on all sides.
- Olive Oil Spray is Your Friend: A light misting of olive oil enhances browning without adding excess calories.
- Go Convection: If your oven has a convection setting, use it! The circulating air helps achieve a more even and crispy texture.
Serving Suggestions and Pairings
Baked chicken cutlets in oven are versatile and pair well with a variety of sides and sauces. Here are some ideas to complete your meal:
Sides to Serve
- Fresh Garden Salad: Toss mixed greens with cherry tomatoes, cucumbers, and a light vinaigrette for a refreshing balance.
- Roasted Vegetables: Asparagus, brussels sprouts, or carrots roasted with olive oil and garlic make excellent accompaniments.
- Garlic Mashed Potatoes: For a comforting classic, serve your cutlets alongside creamy mashed potatoes.
Sauces for Dipping
- Honey Mustard: A sweet and tangy option that pairs perfectly with crispy chicken.
- Marinara Sauce: For a classic Italian twist, serve with warm marinara on the side.
- Lemon Aioli: A zesty, creamy dip that elevates the flavor profile.
Frequently Asked Questions (FAQs)
Can I make these chicken cutlets in oven gluten-free?
Absolutely! Substitute regular panko breadcrumbs with gluten-free breadcrumbs. You can also use almond flour in place of regular flour for a low-carb option.
How do I store and reheat leftovers?
Store leftover cutlets in an airtight container in the refrigerator for up to three days. To reheat, place them in a 375°F preheated oven for 8-10 minutes to bring back their crispiness.
Can I use chicken thighs instead of breasts?
Yes! Chicken thighs work beautifully in this recipe. Remember that thighs may need a bit more cooking time because of their higher fat content.
How can I make these chicken cutlets in oven dairy-free?
Simply omit the Parmesan cheese and double-check that your breadcrumbs are dairy-free.
Conclusion
Crispy baked chicken cutlets in oven are proof that healthier eating doesn’t mean compromising on taste or texture. With the right ingredients, techniques, and a bit of love, you can create a dish that’s as delicious as it is wholesome. So, preheat your oven, gather your ingredients, and get ready to enjoy a healthier twist on a timeless classic.
Don’t forget to share this recipe with friends and family—or better yet, invite them over for a dinner they won’t forget. Your kitchen awaits!
Have you sampled our recipe yet?
There are no reviews yet. Be the first one to write one.

